Ready or Not: How To Wipe Mods Without Losing All Progress
Ready or Not: A Comprehensive Guide to Removing Mods
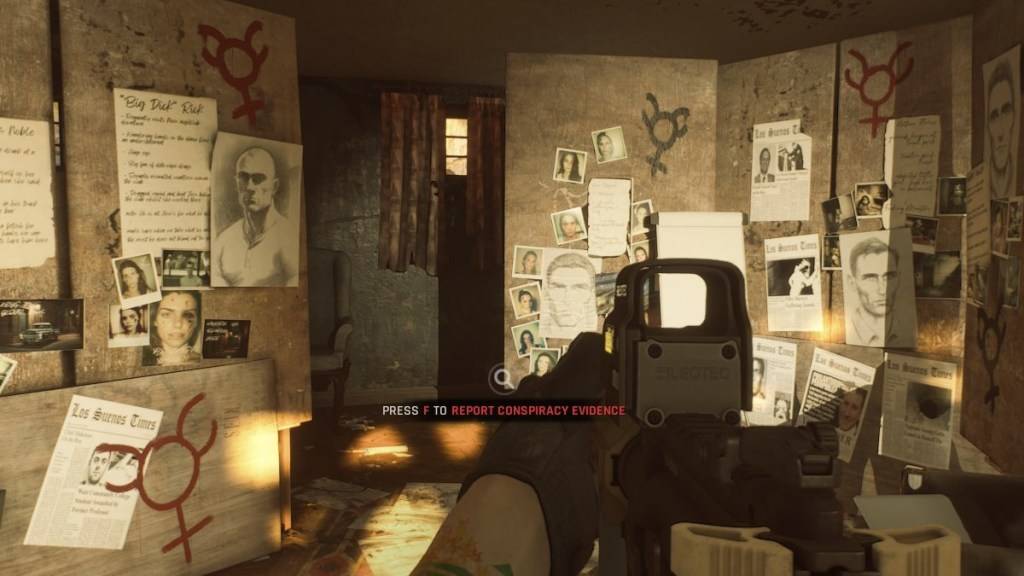
Ready or Not's modding community offers a wealth of enhancements, but mods can also introduce instability and prevent multiplayer with unmodded players. This guide details how to completely remove all mods from your game.
Removing Mods: A Step-by-Step Guide
Regardless of your modding method (Nexus Mod Manager, mod.io, or manual installation), follow these steps for complete mod removal:
-
Unsubscribe: Launch Ready or Not. In the in-game Mod Menu, unsubscribe from all active mods. This prevents re-downloads after deletion. Close the game.
-
Steam File Deletion: Open Steam, right-click Ready or Not in your Library, select Properties, then Installed Files, and finally Browse. This opens the game's directory.
-
Locate and Delete Paks: Navigate to Ready Or Not > Content > Paks. Delete everything within the Paks folder. Then, delete the Paks folder itself.
-
Delete Localappdata Paks: Press Windows+R, type
%localappdata%, and press Enter. Locate the Ready or Not folder, then navigate to Ready Or Not > Saved > Paks. Delete the Paks folder here as well. -
Verify Game Files: Right-click Ready or Not in Steam, go to Properties > Installed Files > Verify Integrity of Game Files. This ensures a clean installation.
-
Optional Reinstall: For a completely fresh start (recommended if you don't plan to use mods again), consider reinstalling the game.
Why Remove Mods?
While mods enhance gameplay, they can also cause:
-
Errors and Glitches: Community-created mods can sometimes introduce bugs and instability. Removing all mods and reinstalling them often resolves these issues.
-
Multiplayer Compatibility: Mods prevent playing with friends who don't have the same mods installed. Removing mods ensures seamless multiplayer experiences.
Ready or Not is available now for PC.
Latest Articles
Trending Games


![Taffy Tales [v1.07.3a]](https://imgs.anofc.com/uploads/32/1719554710667e529623764.jpg)


Top News


Latest Games